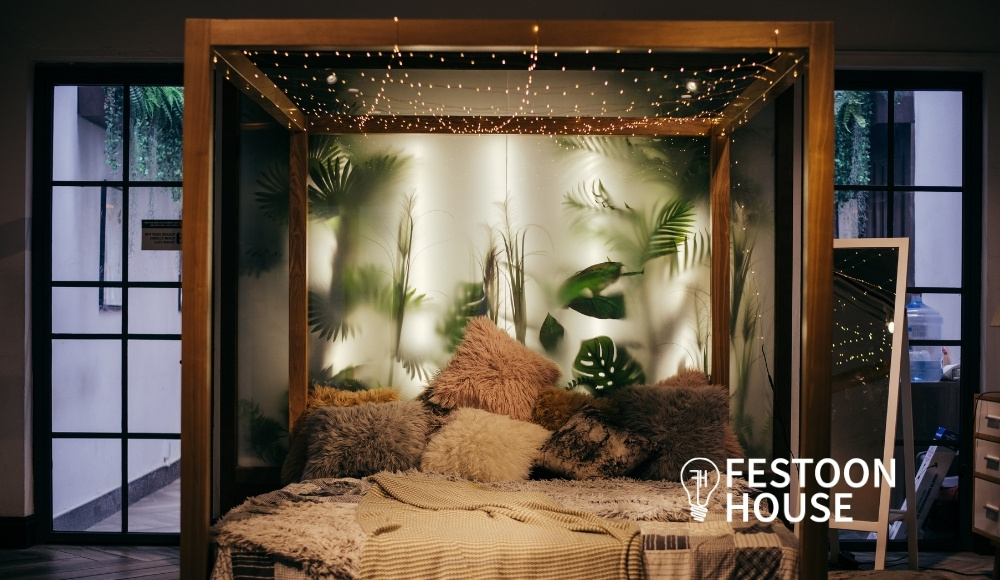
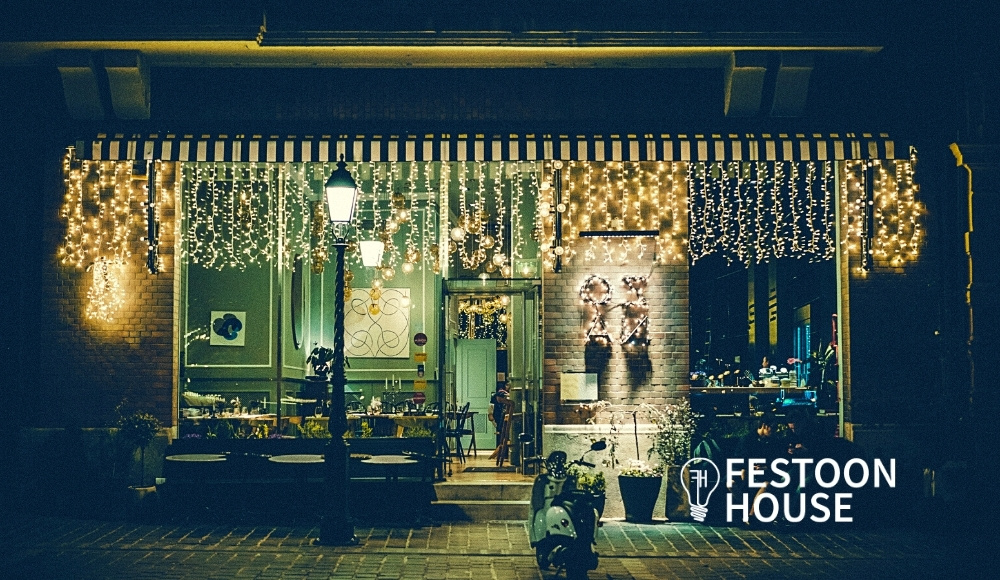
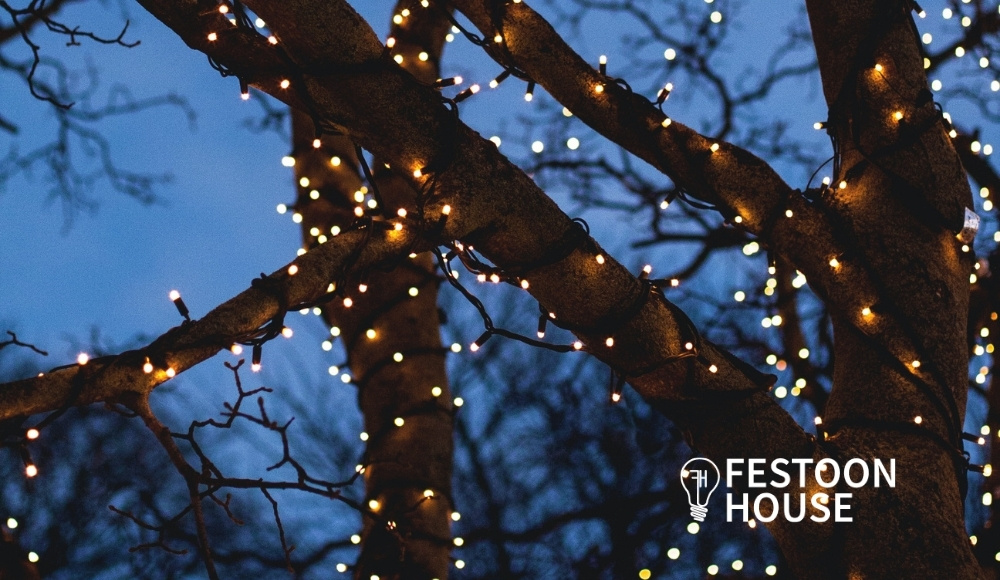
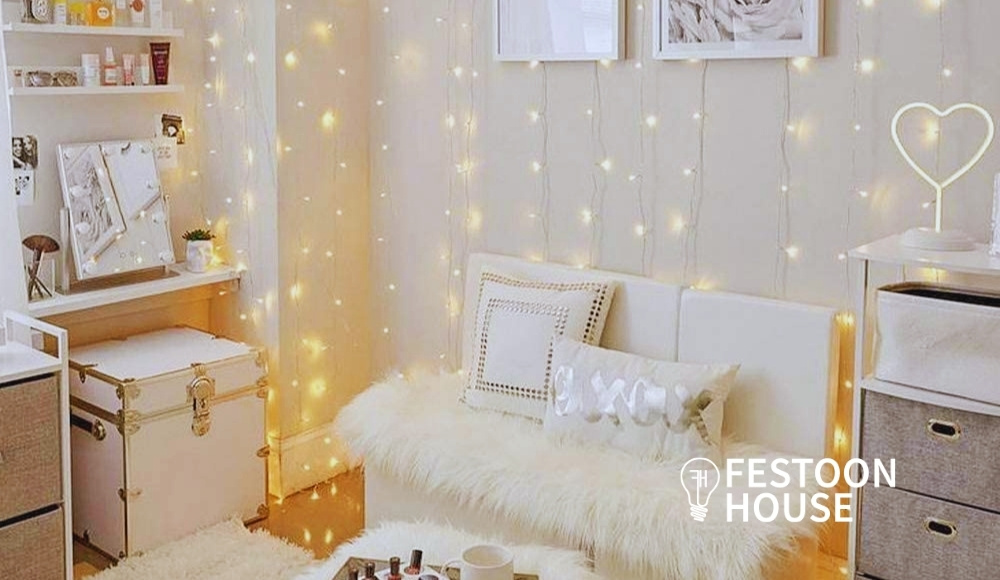
Questions like how to decorate fairy lights in bedroom, or where to put fairy lights in the bedroom are one of the FAQs non-interior designers ask. Back in the day, fairy lights are typical holiday decorations. Today, however, these lights can be seen at any time of year because it is fashionable and functional as interior and exterior décor.
If you want to know how to decorate fairy lights in your bedroom, here are some ideas for fairy lights room décor.
How To Decorate Fairy String Lights In Bedroom? | A Quick Decorative Lighting Guide
Fairy lights provide soft lighting in your room for a cozy ambience. It creates a relaxing way to get some shut-eye. They are also fantastic transition lighting before the sun rises. But where to put fairy lights in the bedroom? There are multiple ways to decorate your bedroom with fairy lights.
How To Use Fairy Lights In Bedroom Ceiling
1. High Ceiling Illusion
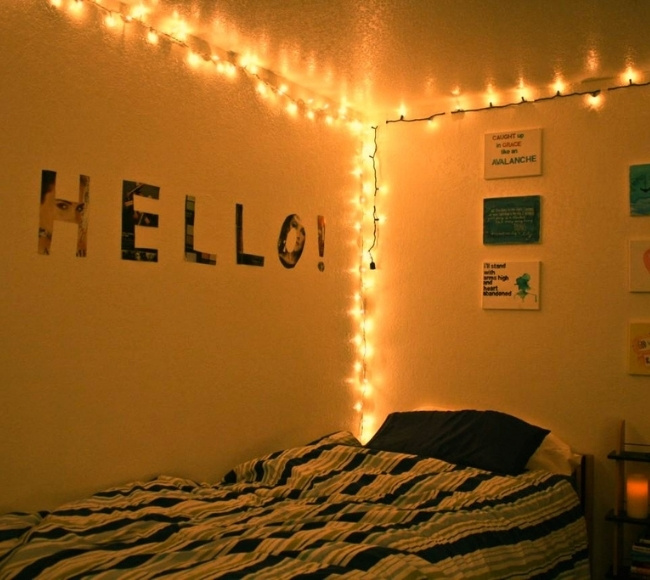
Hanging your fairy string lights vertically along a corner of a wall from the top to the floor can create an illusion of having a high ceiling. You can opt to have them on all corners of your room and even across the ceiling line for a magical lighting theme.
This can also function as a nightlight for your kids if they fear the dark. You can use the standard fairy lights or the multi-coloured string party lights for more style.
What You Need:
• Clear adhesive tapes
• Clear adhesive hooks for the ceiling line
• Fairy lights
• Fairy lights extension lead (if needed)
Step 1. Start with the corner nearest the power outlet.
Step 2. Work your way up the ceiling corner and place clear adhesive tape on every 2 bulbs.
Step 3. Place Clear adhesive hooks on the ceiling corners at about a foot in between.
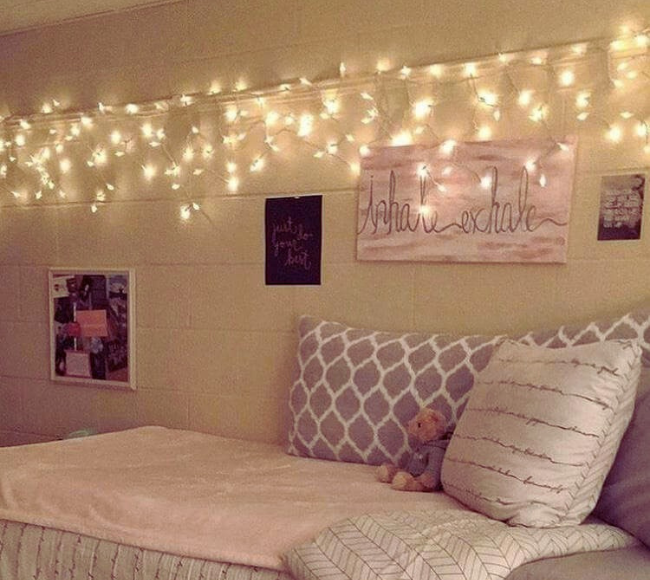
Step 4. Wrap the wires once or place the hooks between the intertwined wires for a secure hold. Have it as taut as you can.
Step 5. Work your way down the next corner as soon as you get there using clear adhesive tapes like in step 2.
Note: You can have it on one side of the wall or all four corners. It’s up to you.
2. LED Floating Novelty String Light Decor
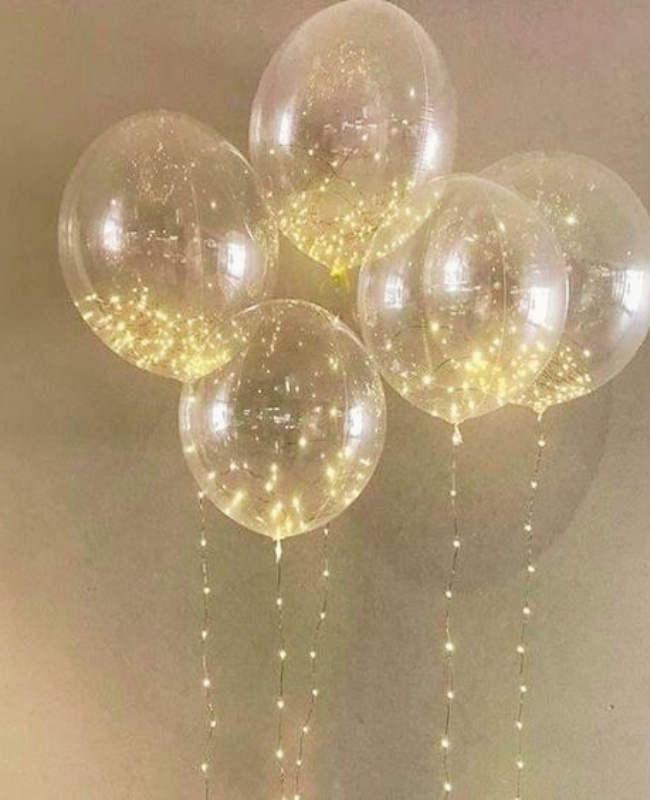
Creating floating lights using balloons and a battery-operated fairy light is one of those novelty string light ideas. Balloons create a party mood already. Couple it with fairy lights, and you’ve just amped up the festivities!
What You Need:
• Fairy lights
• Clear balloons
• Invisible 2-way tape
• Air pump
• Organza drawstring gift bag pouch (the colour of the bag should match the colour of the balloons)
• Clear strings
Step 1. Pump air into the balloons and tie them up on the lip.
Step 2. Place the battery pack end of the fairy light in the drawstring bag.
Step 3. Tie up the fairy light end with the drawstring bag on the lip of the balloon and let the rest of the fairy light hang straight down. (let the bottom end hang just about a foot off your head.
Step 4. Place Heavy duty clear adhesive tape on the top end of the balloon.
Step 5. Turn on the fairy lights.
Step 6. Stick them on the ceiling. The number of balloons will also depend on your preference.
3. Lights and Greeneries
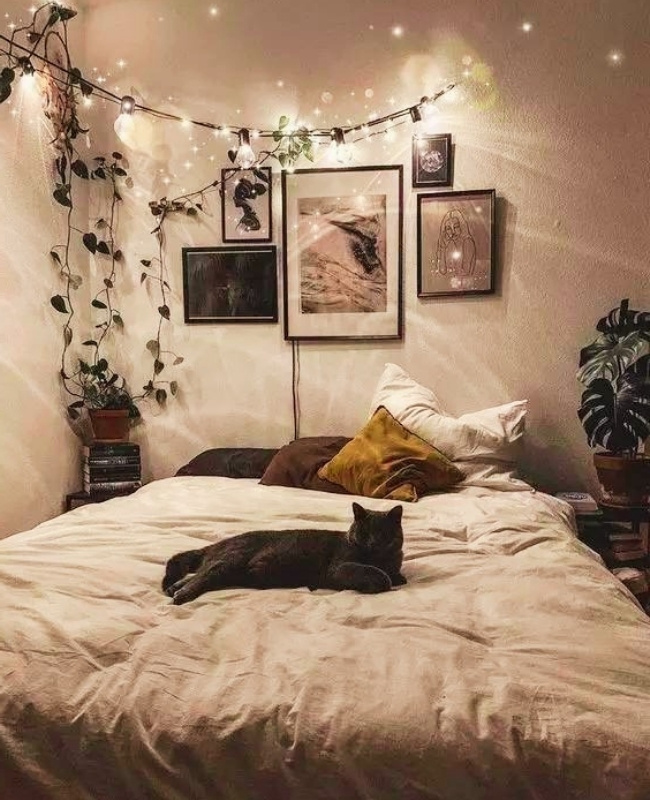
String lights and artificial vines are commonly seen draping from the ceiling like curtain lights. However, there is always room for creativity.
What You Need:
• Faux vines
• String fairy and festoon lights
• Adhesive hooks if you do not wish to put holes in your ceilings or walls
Step 1. Decide where you want to hang your faux vines and fairy lights.
Step 2. With a pencil, mark where you want your lights and greenery to go.
Step 3. Add the adhesive hooks to the indicated spots.
Step 4. Hang the festoon lights from point a to point b. Once done, wind the vines and fairy lights up on the festoon lights.
Step 5. Continue to add vine strips that creep from the planter to the wall and onto the hanging greenery and lights.
RELATED: How to Hang Fairy Lights On Ceiling
Bedroom Fairy Light Ideas To Accentuate the Furniture
4. DIY Bed Headboard Eye-catcher
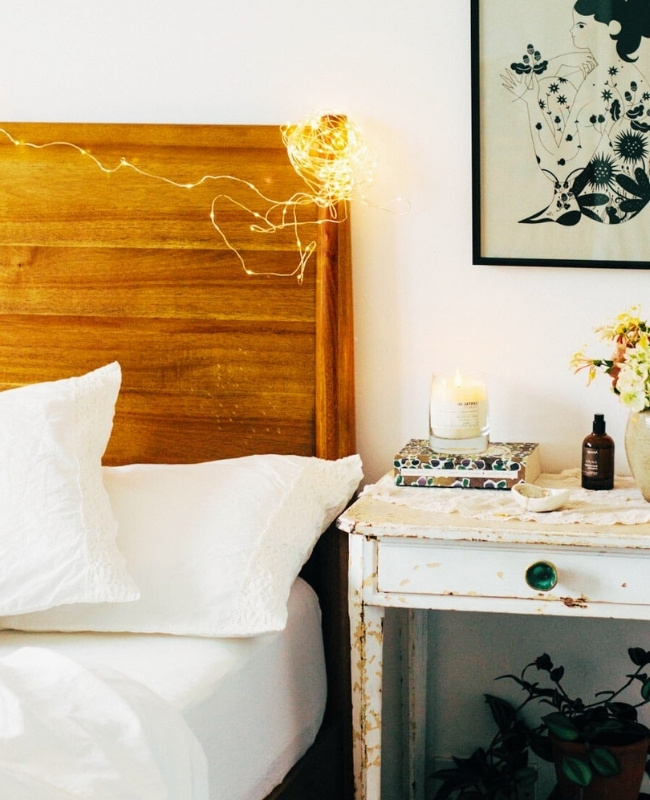
This may be one of the typical string light ideas, but it never gets old. It is a more understated headboard fairy lights idea, yet still provides ambience to your room.
What You Need:
• Clear adhesive tape
• Fairy lights
• Fairy lights extension lead (if needed)
Step 1. Highlight the edges of your headboard with fairy lights placing adhesive tape in between bulbs as you go.
Step 2. Let each string drape from the top to the bottom of the headboard for a great vibe.
5. Tent with String Fairy Lights for Kids
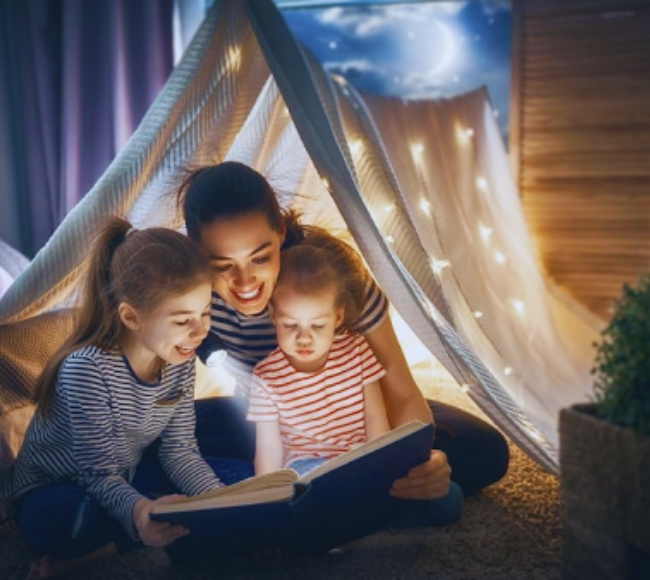
White string lights are the way to go to provide your kids with a happy and festive bedroom. These lights are ideal for setting the mood in a tent in a child’s bedroom. Your bedside stories will undoubtedly become more magical in the eyes and ears of the young ones.
What You Need:
• A Tent for kids
• LED fairy lights
Step 1. Set up the tent in the corner of the room or right beside the bed.
Step 2. Lay out the LED fairy lights on the top side of the tent and secure them with clear adhesive tape. You can do the straight line across with equal spacing or randomly place the lights over the then.
Note: You can use a piece of string to tie across the bedpost to a fixed object and drape a blanket over it. Create a tent-like formation and casually arrange the LED fairy lights over it.
6. Light Up Your Egg Chair
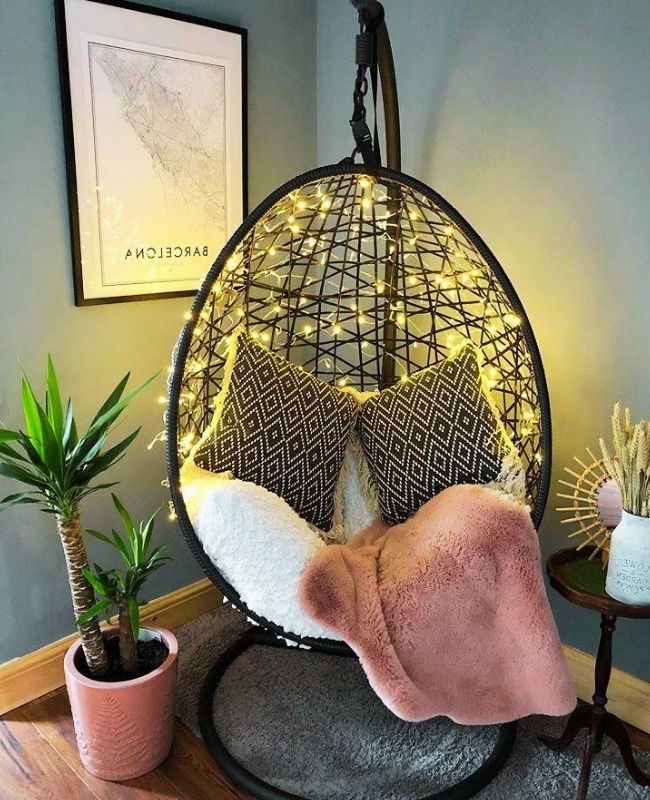
An egg chair in your room is cozy enough to read your favourite book or just relax. If you do not have a space to hang string lights, and you got this nice furniture, go all in and highlight it with fairy net lights! This can be your most comfy spot from here on out.
What You Need:
• Fairy net lights
• Fairy light extension lead
• Clear adhesive tape
Step 1. Measure the distance from the power outlet to the base to the top end of the rod that holds the egg chair up.
Step 2. Place the light extension lead and tape it back side of the rod with a 5 -10 inch gap ( as long as it doesn’t dangle, you’re good.
Step 3. Plug in the Fairy net light on the top end.
Step 4. Spread the net light across your egg chair. Securing the net with clear adhesive tape on the lip of the egg chair to keep it in place.
7. Bed of Lights

Fairy lights lantern is not just a string light outdoor light idea. It is also a common bedroom lighting design. But don’t be predictable!
If you have a palette for a bedframe, this can be an excellent opportunity to place those stunning fairy lights underneath. This will create an ambience like no other. With that just lighted, you can seemingly imagine floating while generating more Z’s in your dream.
What You Need:
• String lights
• Extension lead wire (if needed)
• Long pole with a hook on the edge to grab the string lights from the opposite side
Step 1. Insert the string lights nearest the power outlet. If you need an extension lead wire, use it so that lights stay underneath the bed palette.
Step 2. You can push the string lights in the palette holes to the opposite side of the bed. You can also pull them using the long pole with a hook. It’s up to you.
Step 3. Keep inserting between the gaps in a weave-like motion until you cover the whole bed palette. Switch it on and enjoy!
RELATED: Fairy Light Ideas: 30 Amazing Ways To Use String Lights At Home
String Light Ideas as Room Decor
8. Twisted Rustic Rope Decor Combo
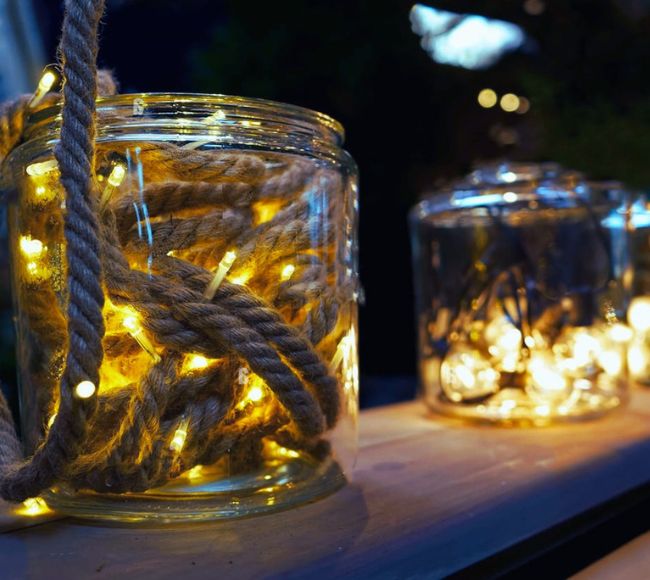
There are multiple decor combinations just by using nautical or barn ropes alone. It can be used for hanging beds, banisters, mirror frames, lightning holders, and so much more. Imagine combining some of those decorations for fairy lights room ideas.
What You Need:
• Nautical or barn rope
• Battery-powered LED fairy lights
• Adhesive or screw Hooks
• Brown string, if needed
Step 1. Choose a large glass bowl.
Step 2. Fill the rope in the bowl in a circular motion at about half an inch from the opening of the bowl.
Step 3. Cut the rope at the end that was used to fill the glass bowl.
Step 4. Straighten the rope on the ground or hang it on a hook.
Step 5. Wrap the LED fairy lights in a circular motion going up or down. Make it taut so it won’t slip.
Step 6. Secure with a brown string if needed.
Step 7. Fill the glass bowl with the rope and fairy light in a circular motion following the shape of the glass bowl.
Step 8. Place the battery pack in the middle to keep it hidden. If you are using a plug-in fairy light, make sure to have part of the rope extending out of the mouth of the jar and behind it to hide the power cord.
Step 9. Place it on a bedside table, a shelf, or a countertop. Enjoy your bedroom with this lighting design!
9. Bedside Fairy Lights Lamp
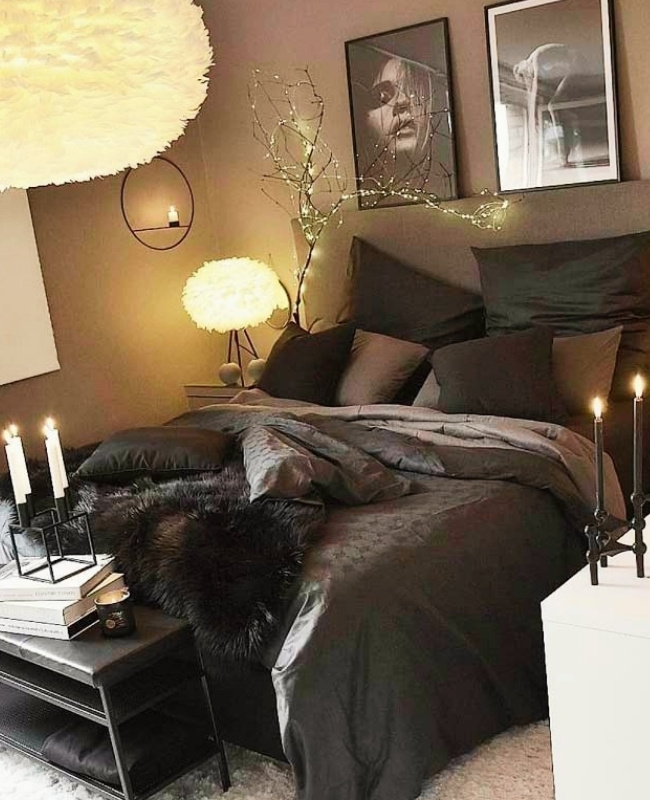
Ditch the usual bedside lamps and go for ingenious fairy lights lamp ideas. Take this inspo, for example. Tree branches add a touch of elegance to your room. Aside from placing it on the bedside, this can also be used as a lamp or chandelier depending on how you place it in your room.
What You Need:
• Fairy lights
• Tree branches
• Protective coating
• Clear coat
• Paint brush
Step 1. Find suitable branches for this lighting project.
Step 2. Trim the branches, remove the bark, and let them dry.
Note: If the branches are fresh, it might take some time to dry them. The shortcut to this DIY project is to buy ready-to-use tree branches on Amazon.
Step 3. Sand and smooth off the rough spots as much as possible.
Step 4. Wipe your branch with a dry towel to remove any sanding dust. Then, to prevent it from damage, apply a thick layer of protective coating.
Step 5. In addition to coating, you can stain or paint your wood. However, a clear coat of poly restored some of the magnificent wood tones and colour depth. So it all depends on your preference.
Step 6. Once the branches are ready, wind the string lights on the branches.
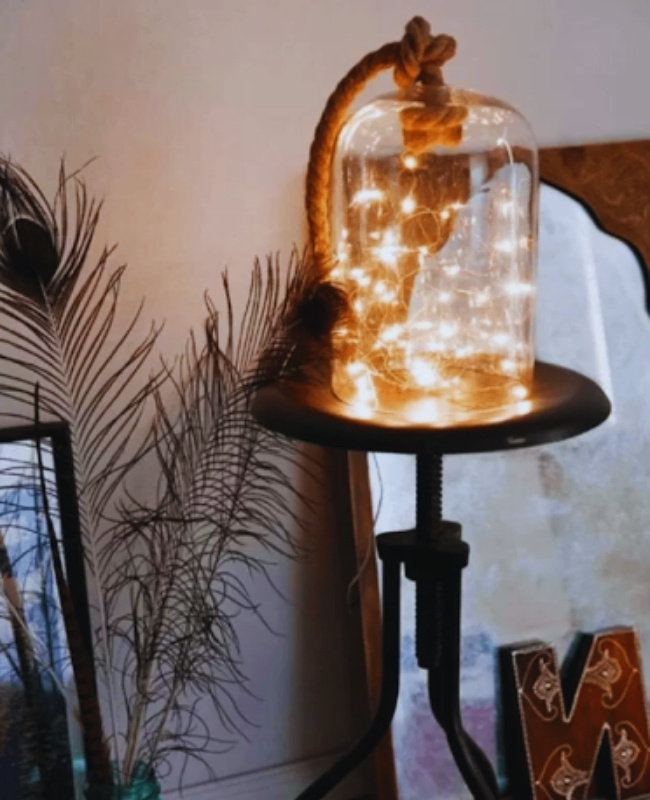
10. A Jar for Strings
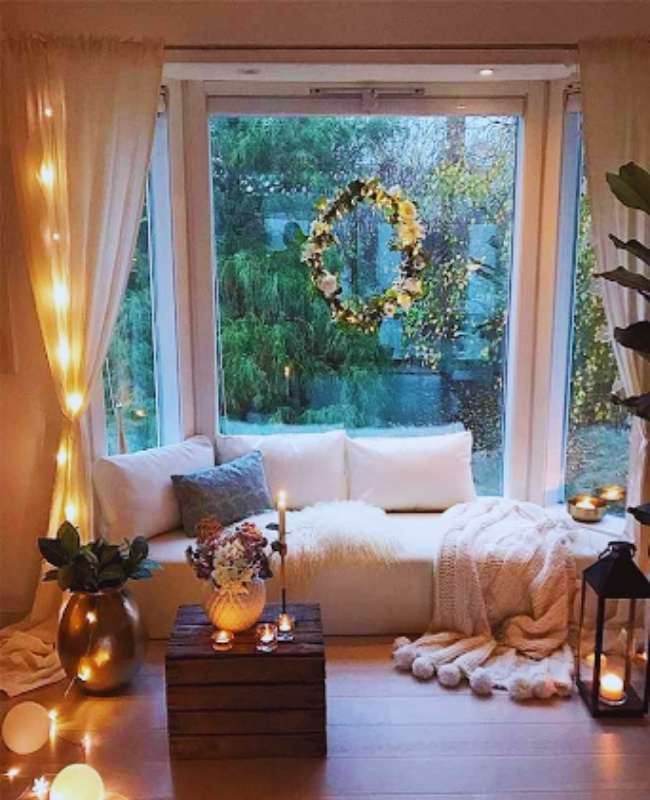
11. Lights, Floral, Action!
Every room requires gentle ambience lighting! It’s perfect for watching Netflix in bed or cuddling with loved ones. You may amp it up with ropes or wooden pieces.
What You Need:
• String lights
• Clear glass dome cloche
Step 1. All you need to do is stuff the string lights inside the jar.
Step 2. Place your jar on a wooden side table, and that’s it.
Wreaths are primarily front-door decorations. But with bedroom fairy lights, we make exceptions. I should say, the sky is the limit for fairy lights bedroom decoration.
What You Need:
• Branches
• Aluminum craft wire
• Artificial flowers
• Burlap ribbon
• Jute rope
• Glue Gun and glue sticks
Step 1. Remove all of the branches’ leaves. Allow the stems to dry completely.
Step 2. After the branches have dried, combine them into a wreath. Use the wire to connect them.
Step 3. After preparing the wreath, wind string lights around it.
Step 4. When finished, decorate the wreath with your favourite flowers. Arrange the flowers and faux vine on the wreath with a hot glue gun.
Step 5. Finish this lighting décor with a gorgeous ribbon and a small piece of jute rope at the back of the wreath.
Step 6. Display your wreath in the bedroom.
12. Photo Frame with LED Lights
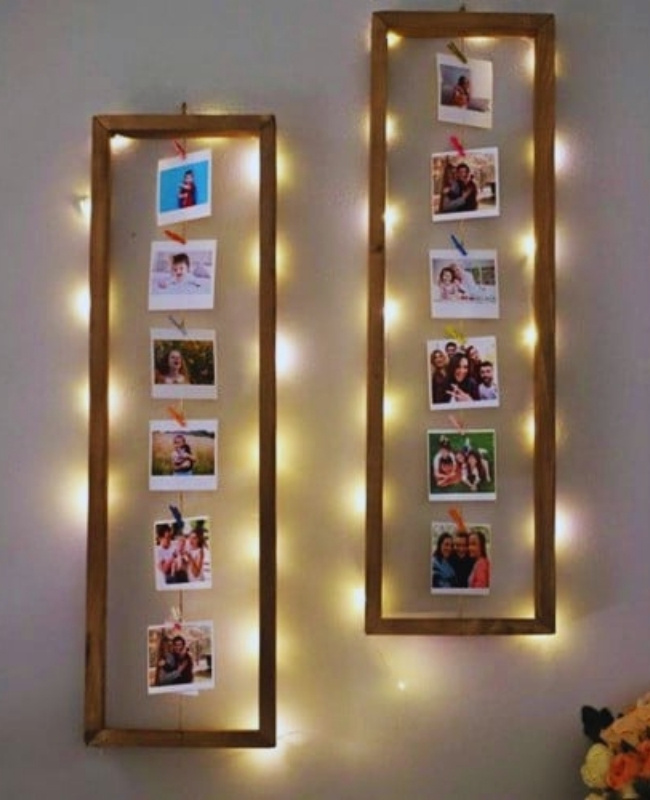
We’ve seen photo clips with string lights trending for some time. Level up this bedroom lighting decor by using a wooden frame.
What You Need:
• Fairy string lights
• Wooden frame
• Photo clips
• Glue sticks and glue gun
• Jute rope
Step 1. Attach the photo clips to the jute rope using a hot glue stick. About 5 inches apart, space the clips evenly.
Note: Please keep in mind that the length of the rope varies based on the photo frame size.
Step 2. Once the photo clips are connected to the jute, position the prepared rope in the middle of the frame.
Step 3. Glue the string lights to the wooden frame’s back.
Step 4. Once everything is in place, add the photos to the clips. You’re now ready to hang the frame on the wall.
13. Birdcage Fairy Lights Design
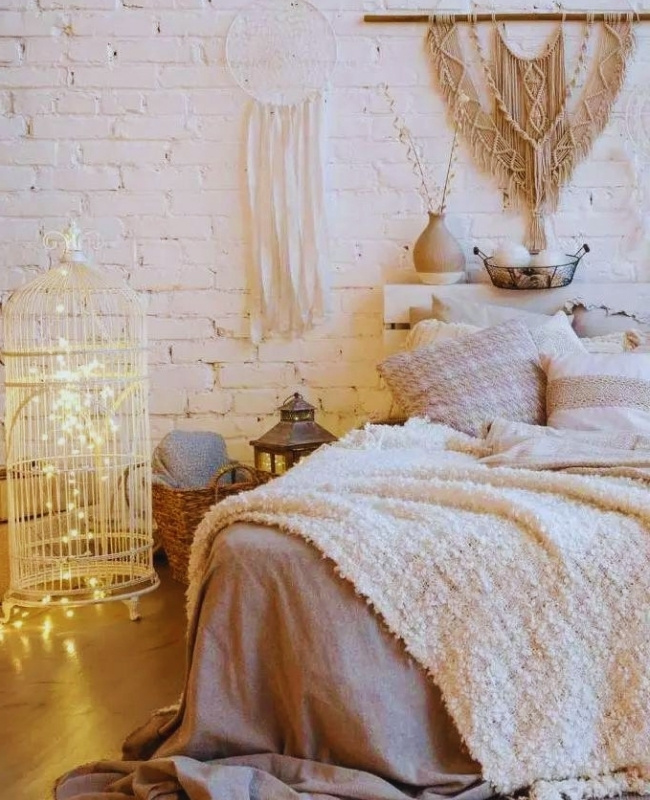
When walls become impossible to decorate, sprucing up other home furnishings is the next option. This fairy lights design is so easy to recreate.
What You Need:
• Old birdcage
• String lights
• Spray paint
Step 1. Spray some paint if the cage is old and rusty. Use a colour that complements your bedroom.
Step 2. Once the cage is ready, start adding the lights. Begin with the fairy light’s plug; place it outside the cage. Ensure you have enough length to reach the socket.
Step 3. Weave the strings through the birdcage from the bottom to the top.
Step 4. Drape the lights down to the bottom of the cage from the top.
Step 5. Repeat step 4 until all lights are draped from the cage roof to the bottom.
How To Hang Fairy Lights On The Wall
14. Accentuate the Tapestry in the room
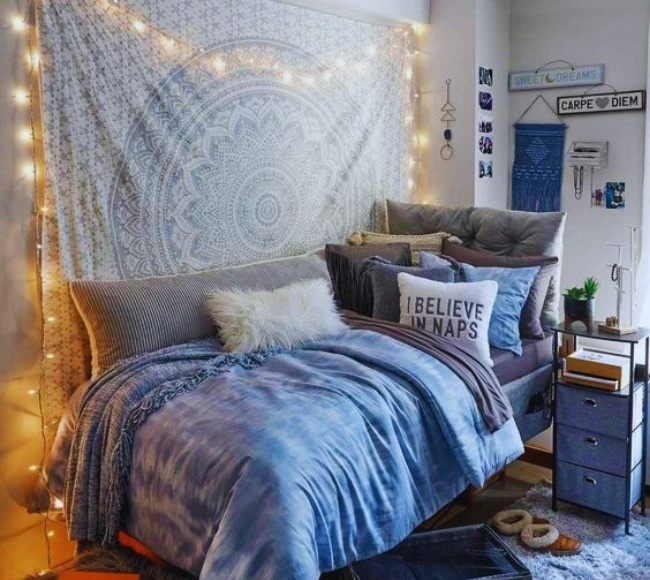
The tapestry hanging on the bedroom wall doesn’t need to be boring. You can amp it up by adding string lights.
There are many ways to hang a tapestry. The simplest way is to drape the fabric and lights with a hammer and nails.
However, if the fabric is very light, we recommend hanging it without using nails so as not to put holes in your wall.
What You Need:
• Wall tapestry
• Adhesive hooks (for the string lights)
• Command hanging strips (for the tapestry)
• Carpentry pencil (for marking the wall)
Step 1. To prepare the wall, wipe down the wall with a moist cloth. Doing this eliminates dirt or dust and ensures the adhesive will hold properly. Before using the adhesive, allow the wall to dry thoroughly.
Step 2. Measure the hanging point and draw light marks where each corner of the tapestry will hang. Use a level to ensure that the tapestry hangs straight along this line.
Step 3. To apply the Command strips to the tapestry, follow the instructions on the package. Peel off one side of the backing and put the command strip sticky side down onto the tapestry in each corner.
Note: You may add command strips in the middle if you want the fabric to be taut. You can also use Command strips or Velcro to secure the bottom of the tapestry to the wall.
Step 4. Remove the Command strips’ backing and align them with the pencil’s markings on the wall. To reinforce the hold, press on each strip in place. Do the same process on the tapestry’s bottom edge.
Step 5. Place the adhesive hooks on both ends, then hang the string lights.
Another option for hanging the tapestry is using a curtain rod. That is if the tapestry has rod pockets.
15. Boho Curtain Lights
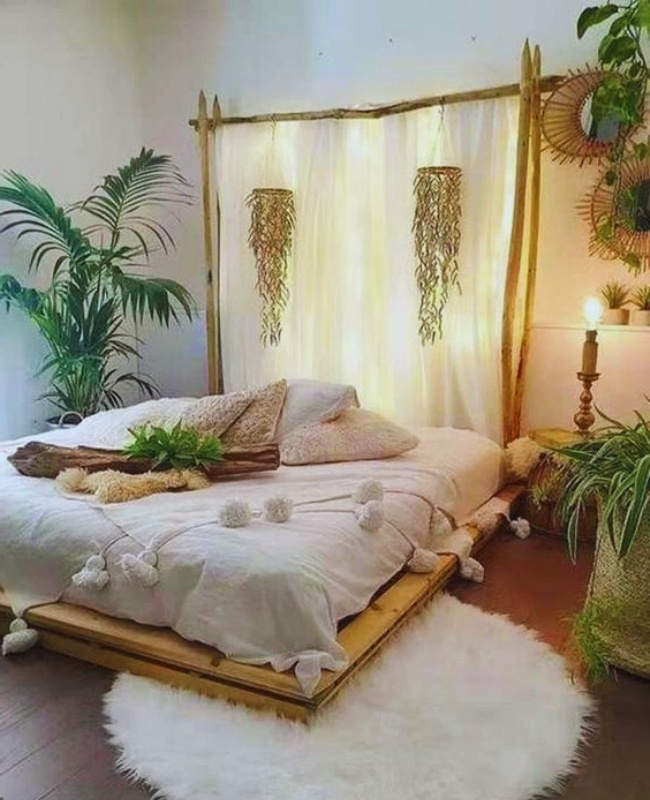
Curtain lights come in different designs and sizes. But this one is for those who want a boho-inspired interior.
What You Need:
• Sheer fabric
• For the square frame, you need 5 pieces of wood stakes (in case they are not available in your backyard, the best option is to buy bamboo plant stakes on Amazon)
• Twine rope
• String fairy lights
• Macrame hanging decor
• Screw hooks
Step 1. To make the arbour frame, measure the height according to your preference. You might want a 5 or 6-foot high arbour. As for the width, it is based on how wide your bed is.
Step 2. Once you determine the height and width, assemble the arbour. Use the twine rope to secure the wooden stakes.
Step 3. Place the finished arbour on the wall, and using a pencil, mark the points where you will place the screw hooks on the opposite side of the poles. Focus on the bottom, middle, and top parts of the frame.
Step 4. Screw on the hooks on the wall based on the markings you just placed.
Step 5. Using twine, tie each end to the opposite hooks while overlapping the string across the poles as you go from one hook to another. Keep doing this to the other hooks to ensure your frame is secure.
Step 6. Glue or sew the Velcro on the sheer curtains. And then, glue the other part of the Velcro on the backside of the rod. This will hold the curtain together.
Step 7. Place the hooks on the front side of the rod where you will hang the macrame hanging decor.
Step 8. Place adhesive hooks on the wall adjacent to the boho rod frame. Allow 5 to 10 inches between hooks. The closer the gap, the brighter the lights.
Step 9. Hang the fairy lights, let them drape down, and then work your way up again to the next hook. Keep going until you reach the other end of the hook on the opposite side of the frame.
16. Free-Spirited String Lights

Decorating your bedroom with string lights adds a beautiful touch to the space. Lay these lights down casually as if they had been dropped by accident.
What You Need:
• String lights
• Adhesive hooks
Step 1. Place the adhesive hooks on the wall. You can randomly space the hooks about 5 to 10 inches apart. Press them hard to ensure a firm hold.
Step 2. Once the adhesive hooks are in place, hang the string lights from the outlet to the first adhesive hooks. Let it drape from the ceiling to the floor.
Step 3. Repeat the process until you finish covering the entire wall with string lights.
Can You Keep Fairy Lights On All Night?
As long as you are utilising LED lights for your fairy lights, the answer is yes; you may leave them on all night.
LED fairy lights are risk-free since the bulbs do not include any filaments that could burn out. In addition to these features, this kind of light is cool to the touch, has a low voltage, and can endure for a very long time.
Do Fairy Lights Need To Be Plugged In?
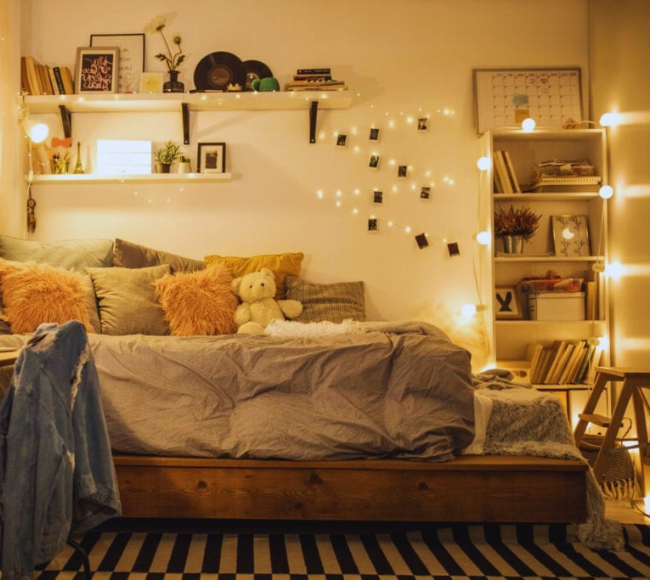
These days, there’s no need to rely on plug-in lighting. Battery-powered lights might be simpler and easier for temporary installations. Batteries, however, have a finite lifespan.
In addition, solar-powered fairy lights are already widely available on the market and can be used in outdoor spaces.
Is It Safe To Put Fairy Lights On Curtains?
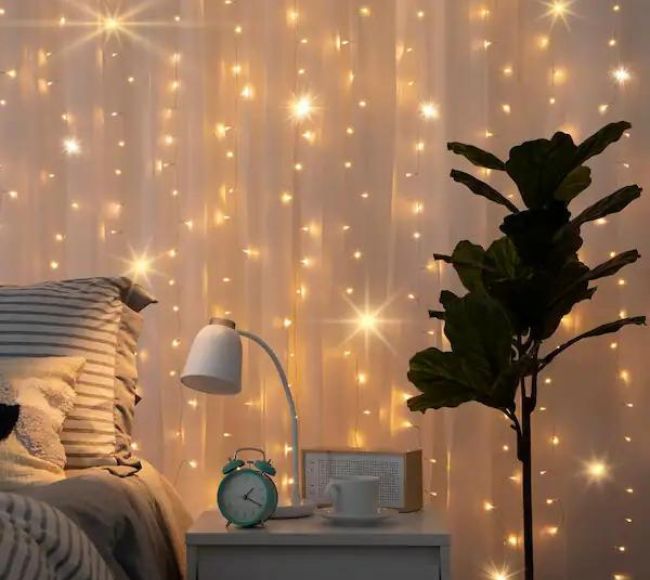
You don’t have to worry about fire concerns while hanging lights near curtains. As mentioned earlier, LED fairy lights are always cool to the touch. Thus, it is safe to use inside the house or near curtain fabric.
Are Led Fairy Lights Expensive To Run?
LED lights are energy-efficient. In fact, according to a Uswitch.com expert, placing a few strings of fairy lights in your bedrooms will not contribute much to your energy bills.
There you have it. These are just a few inspirations that you can do at home. And remember, when it comes to decorating fairy lights in the bedrooms, there are no limits. We’re pretty sure there isn’t a single bedroom on this planet that doesn’t have some fairy light embellishment.
Lastly, if you’re in the middle of your own DIY lighting project and loved any of the inspiration ideas above, get in touch using our contact page! We’d love to collaborate with you.

