

The fairy lights buying guide
Fairy lights, explained.
New to fairy lights? Start here. What they are, black or white cable, which light colour, the layouts that work, and how many metres a tree, a fence or a pergola takes.
Start here
What fairy lights are.
Fairy lights are a thin cable with a small LED every 10cm. The cable is fine enough to wrap around a tree trunk or run along a rail, which is why they suit trees, fences and pergolas. Festoon lights are the big-globe ones, with a bulb every 50cm or 100cm.
100 LEDs per 10m string
Every 10m string carries 100 LEDs, 10cm apart. The spacing is fixed, so there is no spacing to choose.
10m strings that plug together
Every string has quick-connect ends, so runs join end to end. Kits come in 10m steps from 10m to 150m.
24V, power supply included
Every kit includes the lights, a 3m extension lead and the 24V power supply.
You make three choices
Cable colour, light colour and the layout. The layout is what decides the metres.
Step 1: cable colour
Black cable or white cable.


At night the eye goes to the lights. In daylight you see the cable, so match it to what it sits on. Black and white kits cost the same at every length.
Black cable
Sits back against dark timber, steel, foliage and bark. Very warm, warm or cool white.
White cable
Sits back against white pergolas, posts and render. Very warm or warm white. Also sold in 3m pieces for tighter trims.
Chosen a cable? The builder takes it from here.
Step 2: light colour
Very warm, warm or cool white.
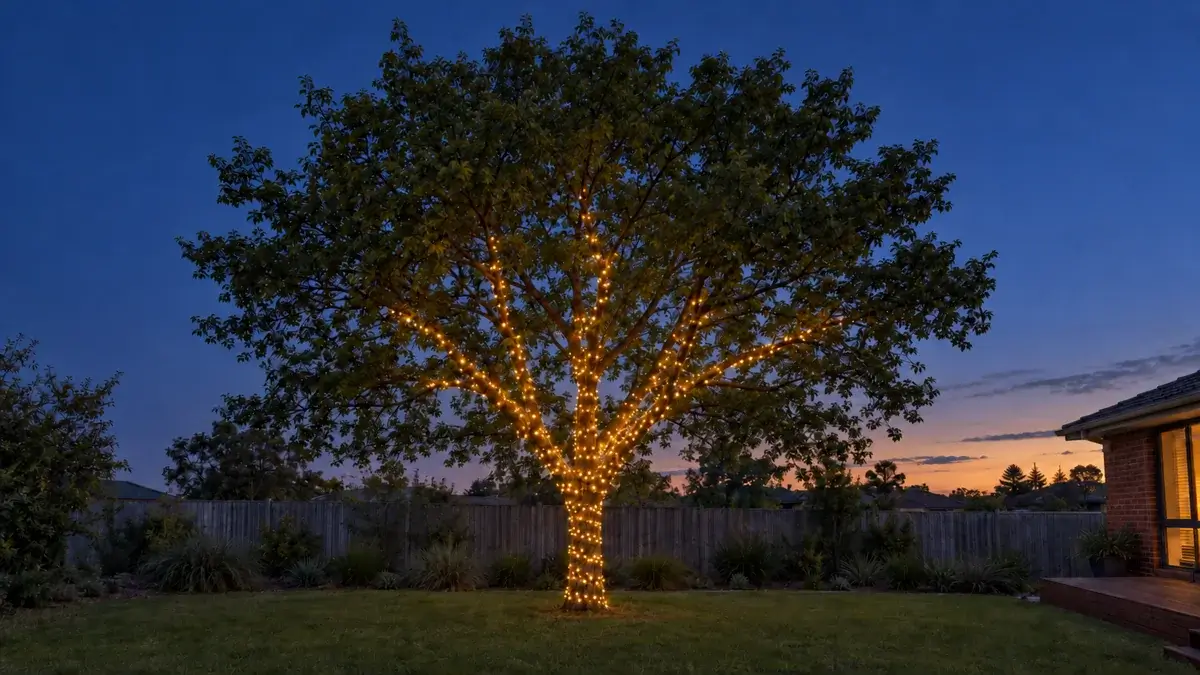
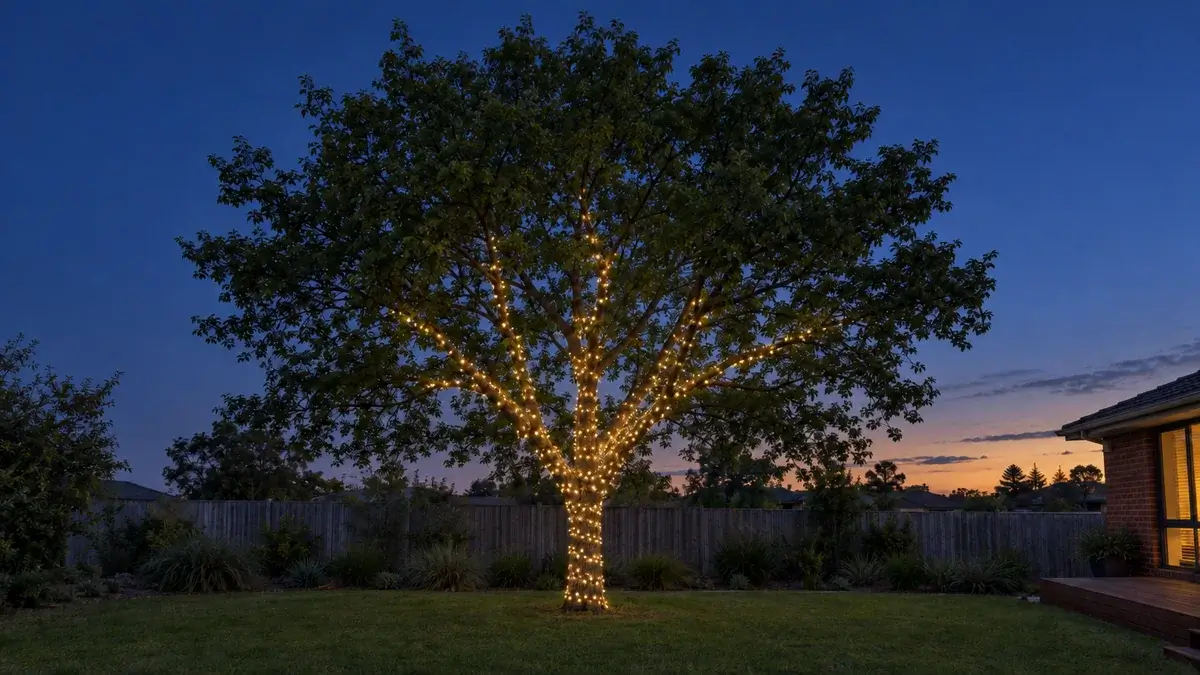
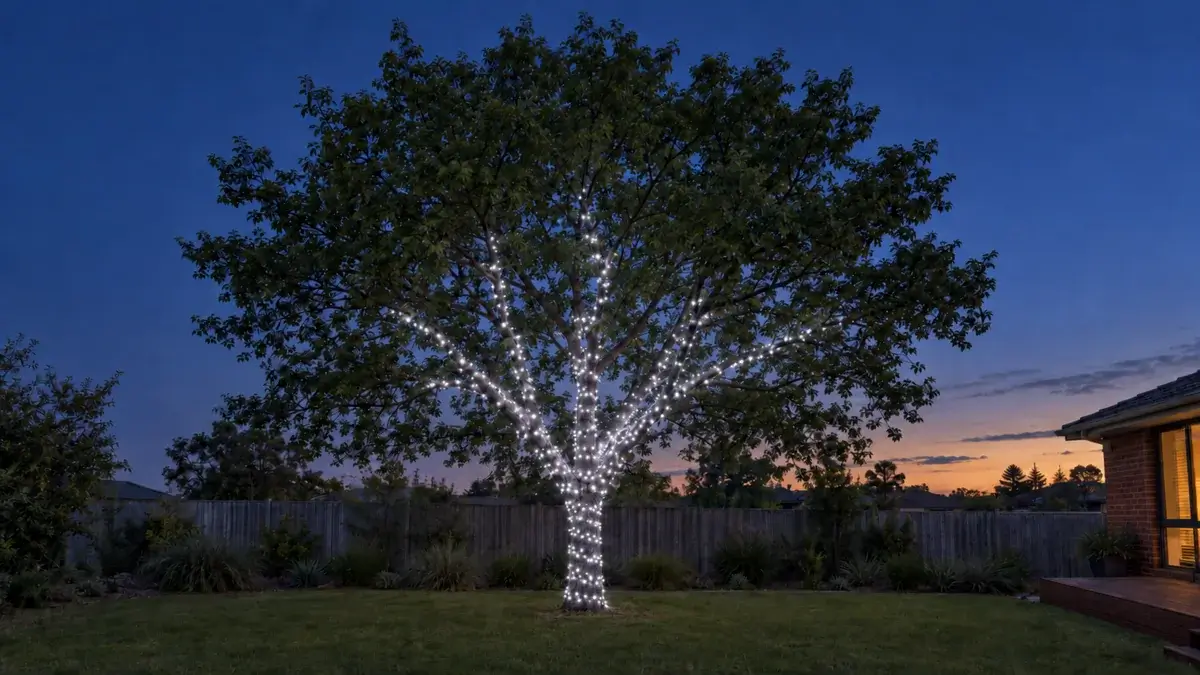
Screens cannot show light colour exactly, so treat these as a guide.
The price does not change with the colour. The mood does. The warm whites are colour matched across the festoon and fairy ranges, so the two read as one scheme.
2200K
Very warm white
Candlelight, like a dimmed cafe or an old Edison globe. Courtyards, garden paths and firepits.
2700K
Warm white
Relaxed and inviting, close to most household downlights. Patios, alfresco dining and barbecues.
6500K
Cool white
Crisp and bright, close to daylight. Driveways, sheds and workspaces. Black cable only.
Every kit, tree kit and extra piece is on the fairy lights page.
Step 3: the layout
Four layouts, and what each one takes.
A tree
The trunk spiralled at an even pitch, then out along each main branch, so the tree still reads as a tree once the lights come on.
Takes: A tree kit sized by its main branches, or a length worked out from its measurements.
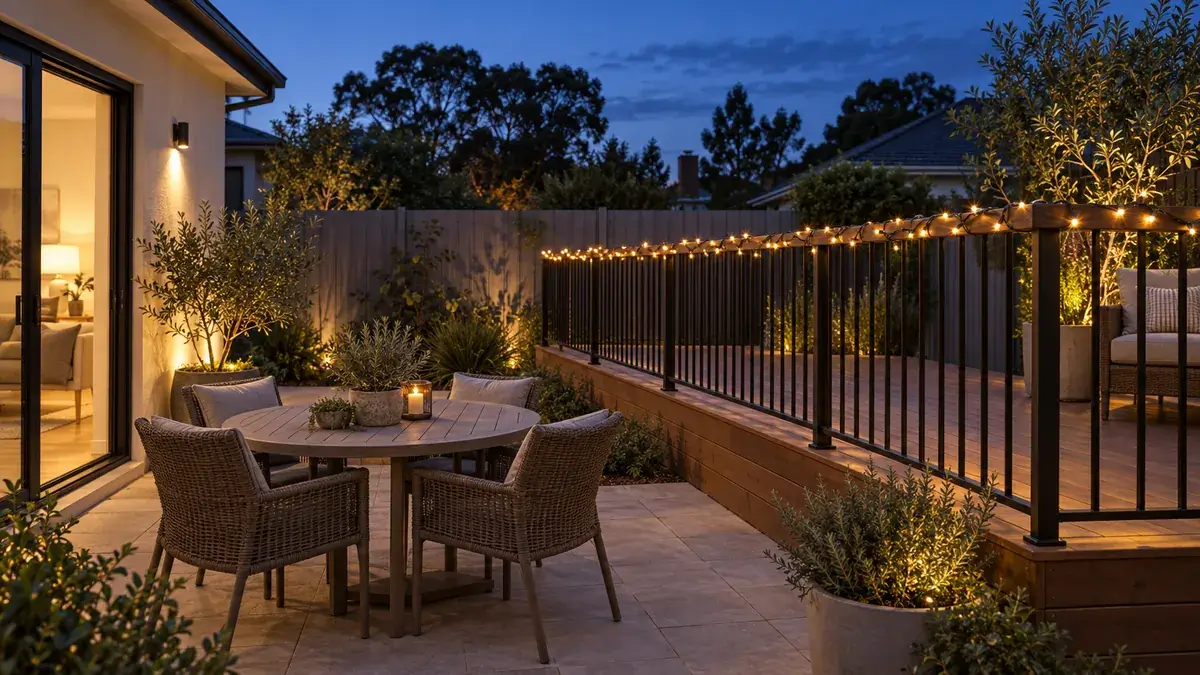
A fence or balustrade
Fence lines, balustrades, eaves and beams. One of the simplest layouts, and the easiest to extend later.
Takes: The length of the edge, rounded up to the next 10m.
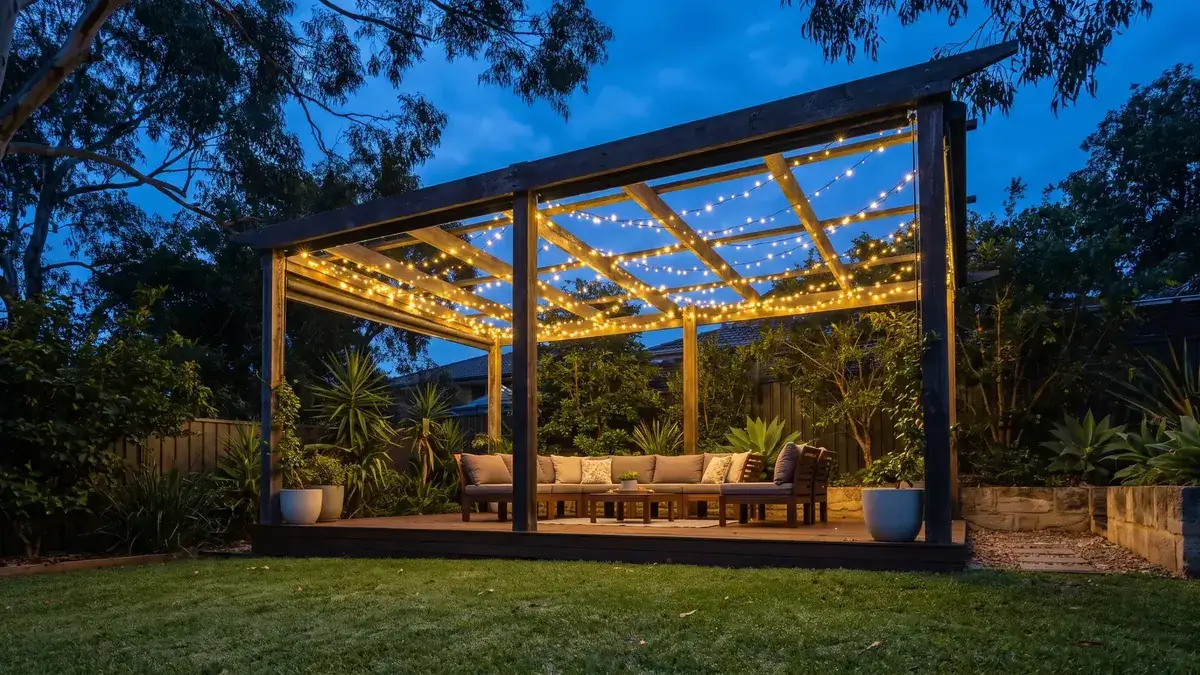
A pergola, zigzag
Back and forth across the beams or rafters. More crossings give a denser ceiling of light.
Takes: The number of crossings times the length of each one.
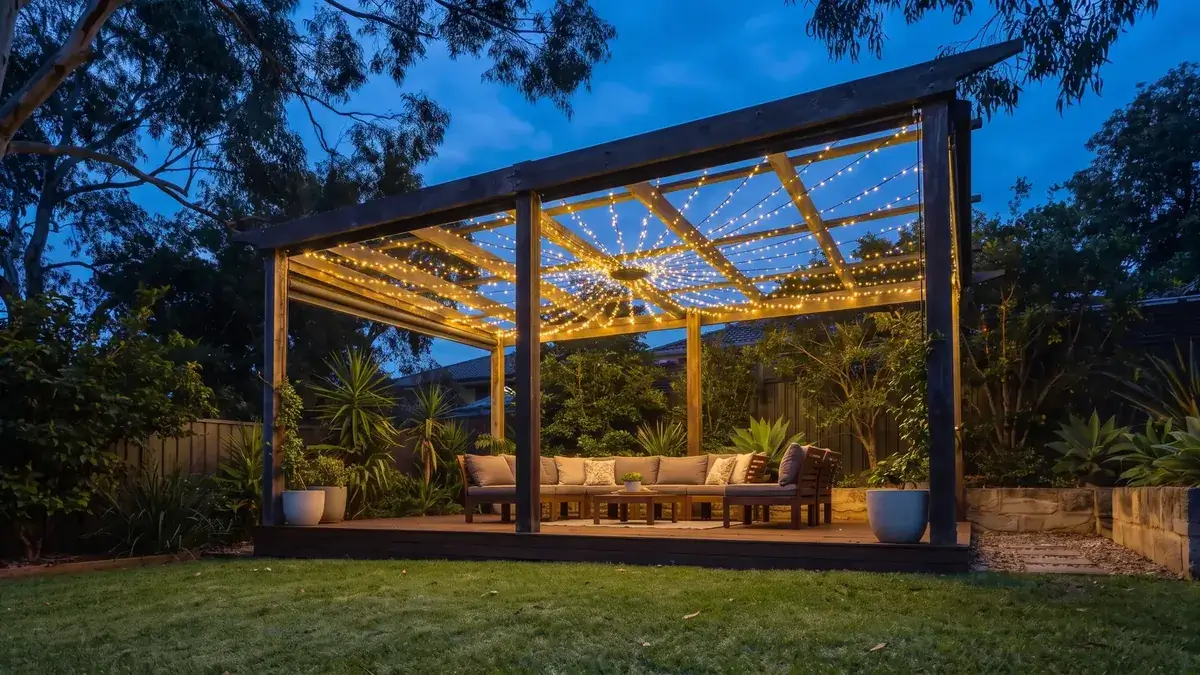
A pergola, from the centre
Runs spread out from a splitter at the centre to the edges, like the spokes of a wheel.
Takes: A 10m string for each run, and a splitter at the centre.
Lay the lights out on the ground in the pattern you want before anything goes up, and keep the power point in mind while you do.
Put up by customers.
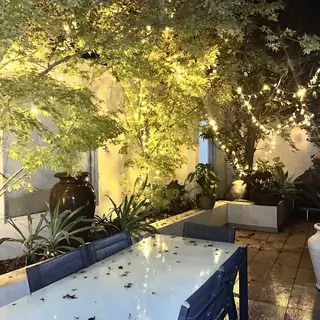
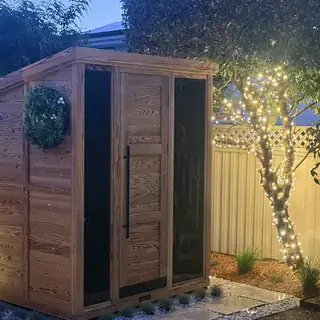
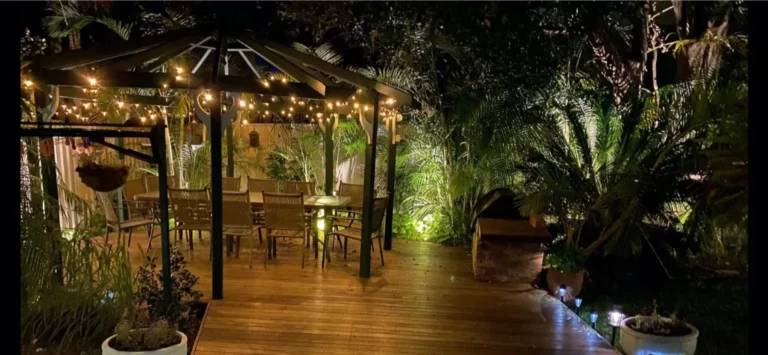
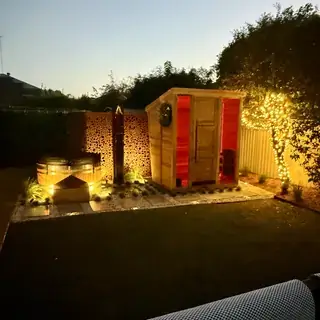
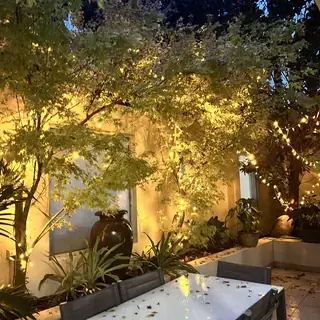
Pick your layout in the builder and it works out the kit.
Step 4: how many metres
How much will I need?
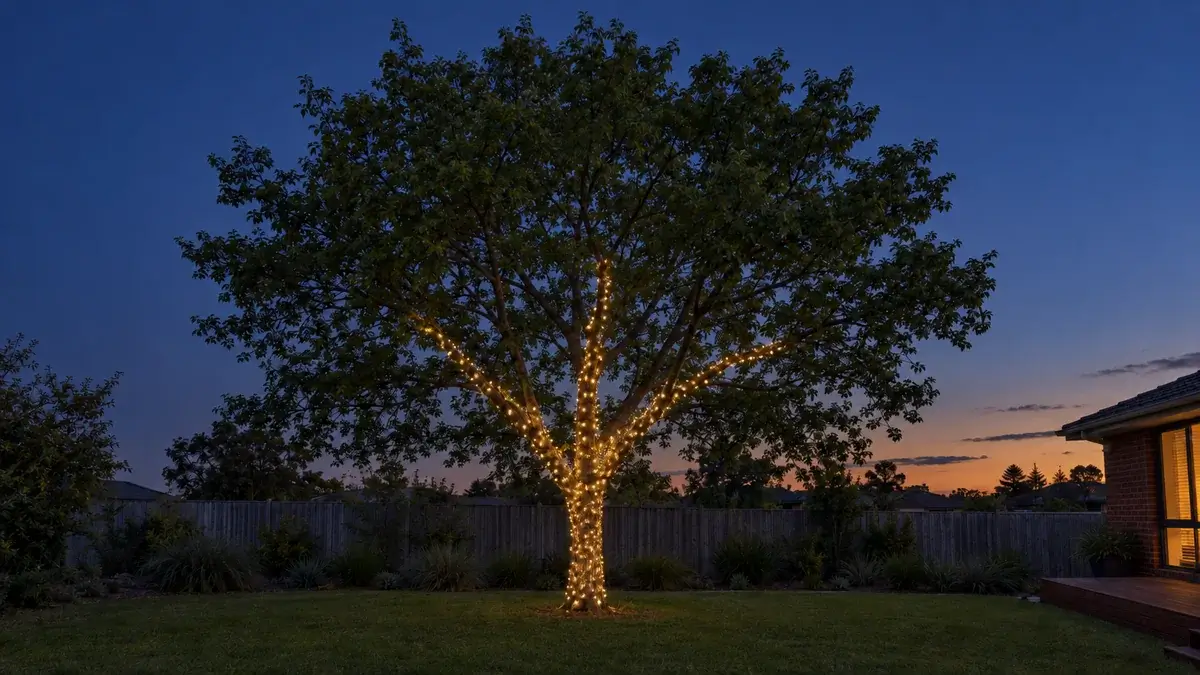
Small tree kit
40m of lights (37m on white cable).
Medium tree kit
80m of lights (74m on white cable).
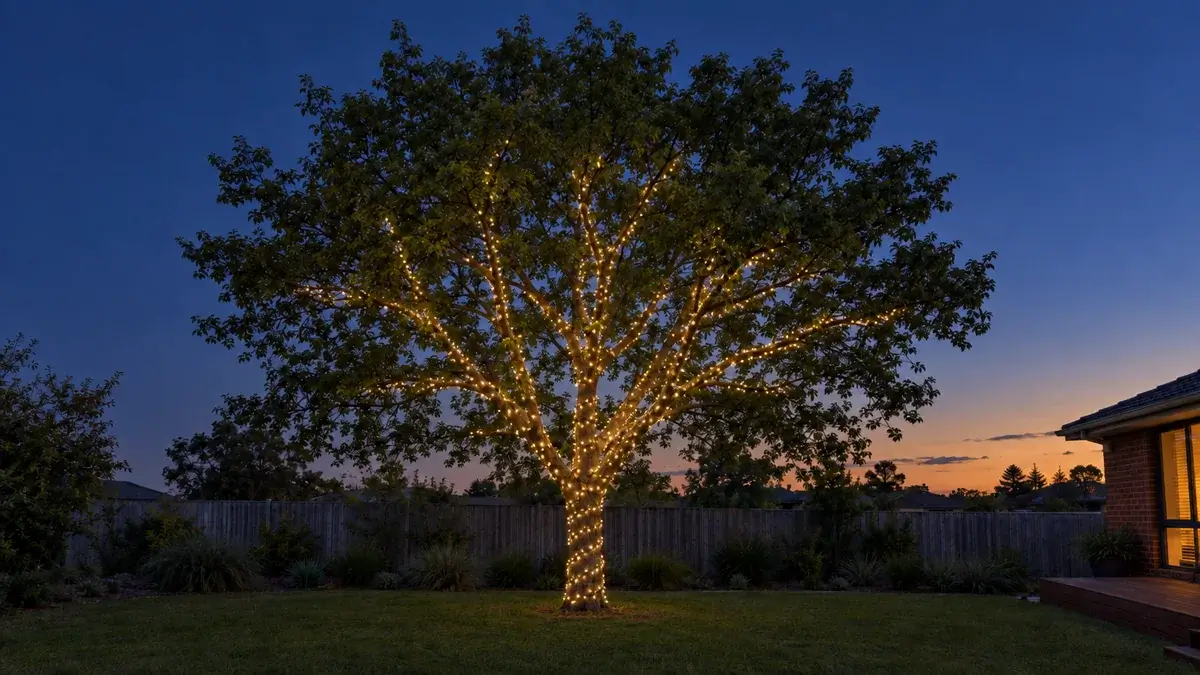
Large tree kit
150m of lights.
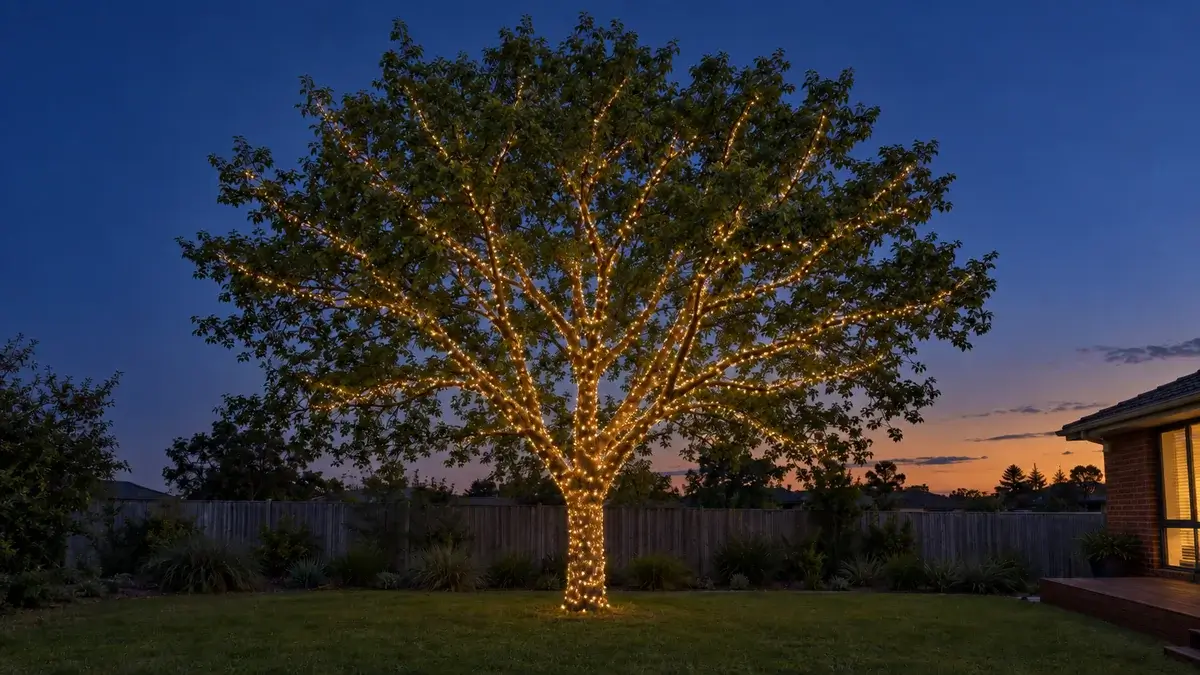
Extra large tree kit
300m of lights.
For a tree, count the main branches. The four tree kits are sized that way, and each one comes with its splitters, the 24V power supply and a 3m extension lead.
Measuring a tree yourself
Each wrap around a trunk uses a little over three times its diameter. A trunk 2m tall and 32cm across, wrapped every 10cm, is 20 wraps of about 1m each, so about 20m of lights. Do the same for each main branch and add them up.
Fences, balustrades and pergolas: measure the run.
Along an edge
Add up every edge you want lit. 23m of fence takes the 30m kit, with about 7m spare to run down a post or on to the next edge.
30m kit A$231.20
Zigzag under a pergola
A 6m by 4m pergola with six crossings: each crossing is about 4.1m, so about 25m of lights. The 30m kit covers it.
30m kit A$231.20
From the centre
Five runs of up to 10m each take the 50m kit, plus a 5-output splitter at the centre. The builder adds the splitter for you.
50m kit A$343.20
| Kit length | LEDs | Price |
|---|---|---|
| 10m | 100 | A$127.20 |
| 20m | 200 | A$183.20 |
| 30m | 300 | A$231.20 |
| 40m | 400 | A$295.20 |
| 50m | 500 | A$343.20 |
| 100m | 1,000 | A$591.20 |
| 150m | 1,500 | A$831.20 |
Every kit reaches 5m from the power point (wall socket). A run with some drape uses a little more than a straight line, so if you are close to a step, go up one.
Put in your own measurements and the builder works out the kit, the splitters and the price.
Putting them up
How to wrap a tree properly.
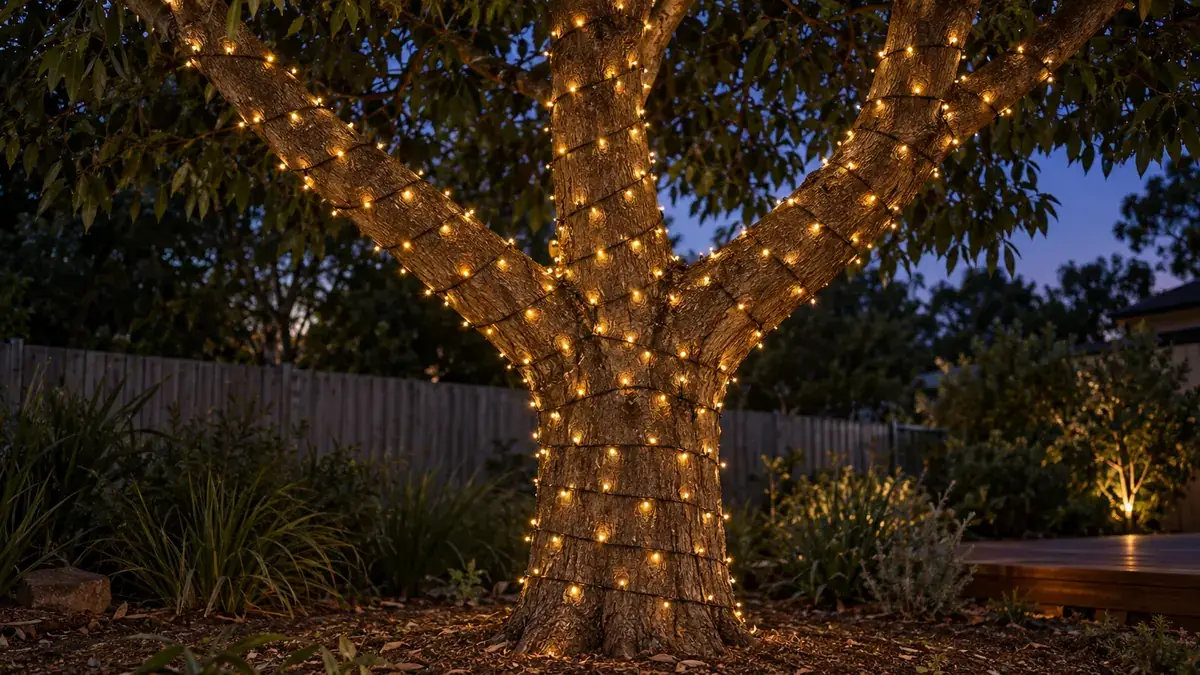
The method we give every customer. It takes no longer than doing it the wrong way.
-
Test every string on the ground
Plug each piece in before it goes up. Finding a dead string at the top of a ladder is a wasted afternoon.
-
Plan the power run
Keep the join between the lead and the first string off the ground, and put the power supply somewhere sheltered.
-
Start at the plug end
Begin nearest your power point, so everything runs upward and outward.
-
Wrap from the coil
Feed the lights out as you go. Laying the whole length on the lawn first means pulling against it on every pass.
-
Keep it loose
On a tree you should be able to slide two fingers under the cable anywhere. A tree keeps growing. The cable does not.
-
Soft ties on living branches
Garden velcro, soft rubber tree ties or twine. Never zip ties or wire on a tree.
-
Split at the first fork
Fit a splitter where the trunk becomes limbs, instead of winding one string back and forth.
-
Walk out to the footpath
Look at it from where people will see it, while everything is still easy to adjust.
Near a pool or spa?
The black and white fairy kits and the tree kits all run at 24V, which is extra low voltage. The power supply is the only part that plugs into mains power, and it belongs somewhere sheltered. Planning lights near water? Tell us about the space before you order: email support@festoonhouse.com.au or call 1300 246 282.
Every step, with the reasons behind it.
Questions
The things people ask before they buy.
How far from the power point can the lights start?
Every kit reaches 5m from the power point (wall socket): 2m on the power supply lead plus the 3m extension lead in the box. Further than that takes extra extension lead as a custom build, so tell us the distance before you order: email support@festoonhouse.com.au or call 1300 246 282.
Can I join lengths, or branch them?
Yes. Every string has quick-connect ends, so runs join end to end, and a splitter sends one run off in up to five directions. That is how one power point covers a whole tree.
Can I leave them up all year?
Yes. They are built for permanent outdoor installation. On a tree, check the ties and the slack once a year, ideally in spring, because that is when a tie goes from comfortable to tight.
Will fairy lights damage my tree?
Not if they are wrapped loose and tied with something soft. Damage comes from tight wraps and hard ties, particularly zip ties and wire, which cut into the bark as the tree grows.
Can I mix fairy lights and festoon?
Side by side, yes. They are separate systems, so they do not plug into each other, but the warm whites are colour matched across both ranges. Festoon overhead with fairy lights in the trees behind is the classic combination.
What if part of it stops working?
Find where the lights stop and check how tight the cable sits there first, then the connections either side, then the power supply. Because the strings are connectable pieces, you replace a piece rather than the whole run.
Do I need an electrician?
Not to plug a kit into an existing outdoor power point: the power supply plugs in and runs the lights at 24V. A new outdoor power point, or any fixed wiring, is a job for a licensed electrician.
Still not sure what to order?
Email a photo of your space to support@festoonhouse.com.au or call 1300 246 282, and we will tell you exactly what it needs and how many metres to order.
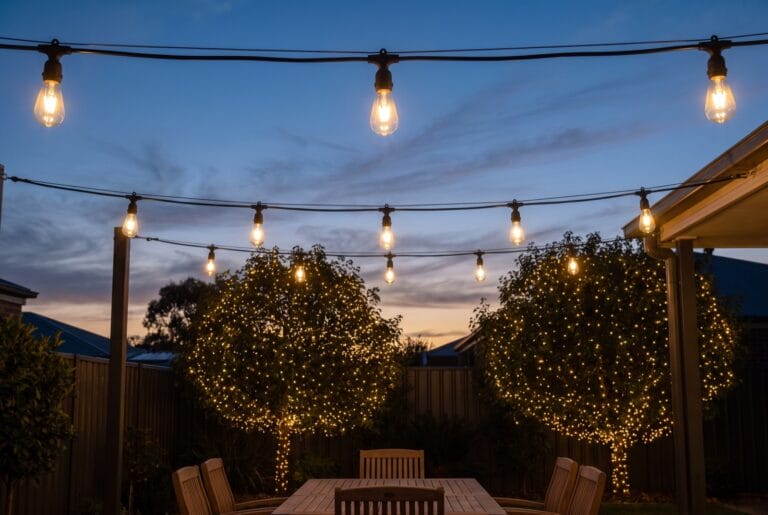
Ready to work out your kit?
The builder takes the choices in this guide, sizes your tree or measures your run, and gives you one kit with its price.
Or call 1300 246 282, or email a photo of your space to support@festoonhouse.com.au.
